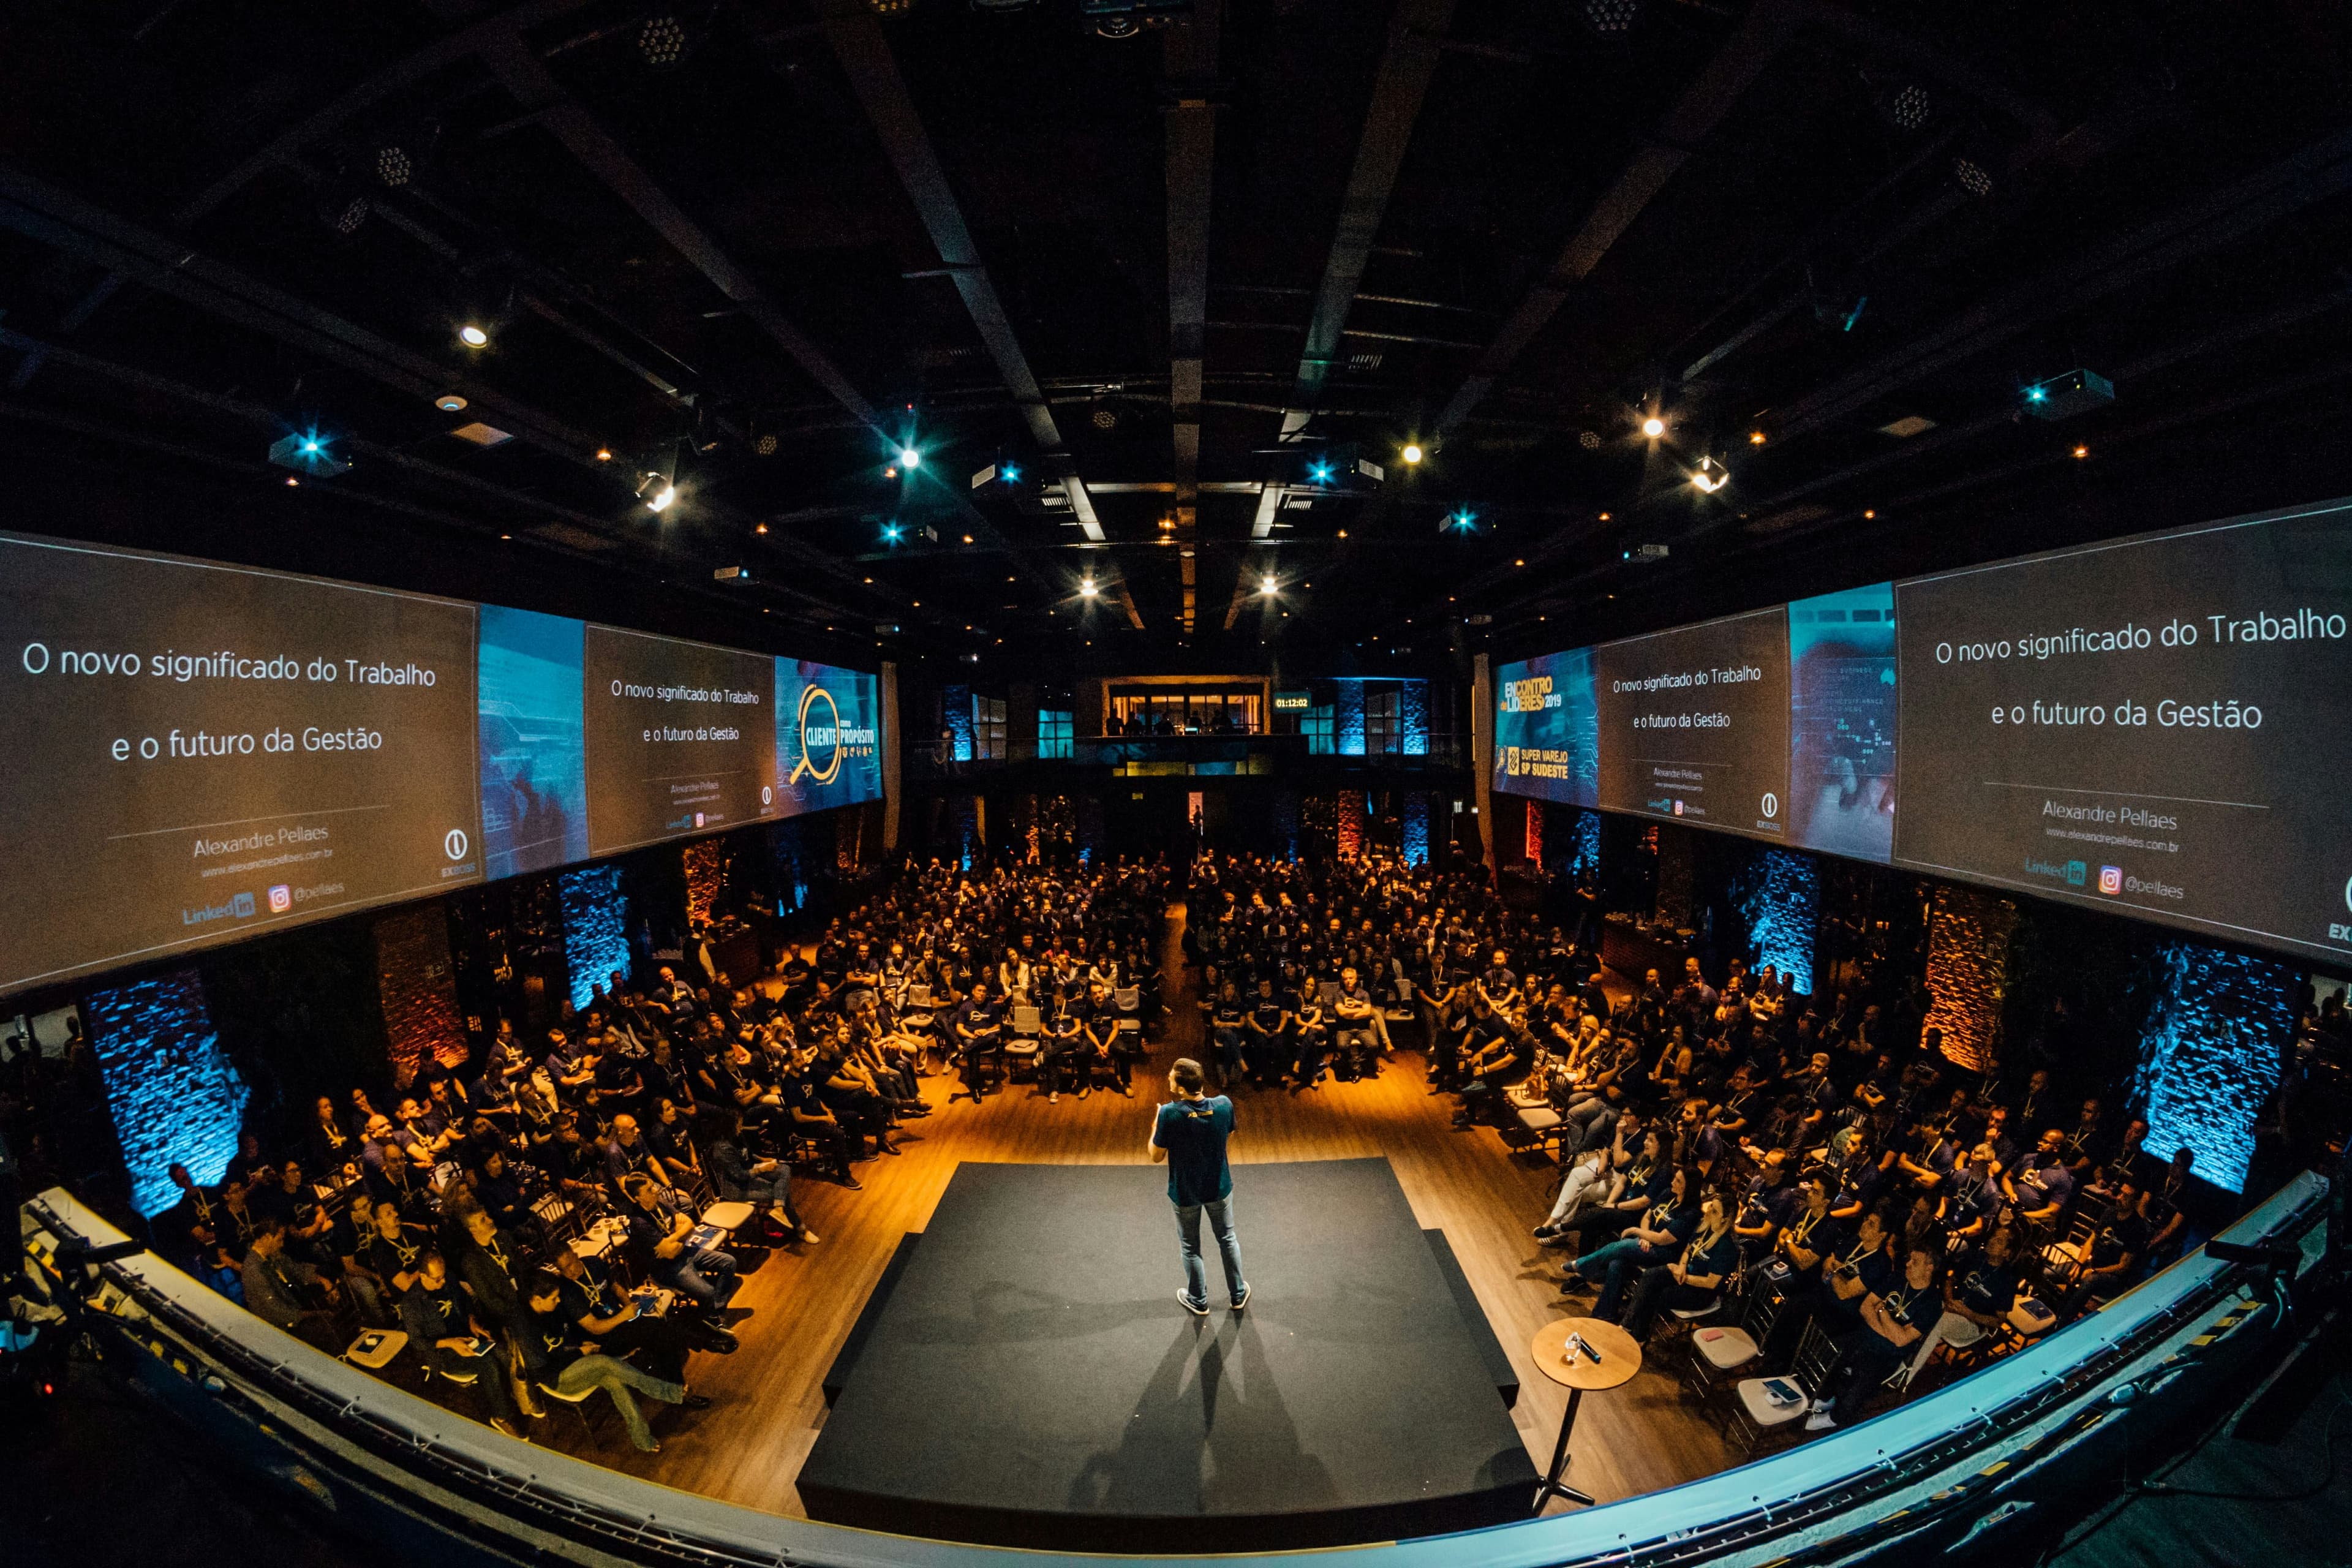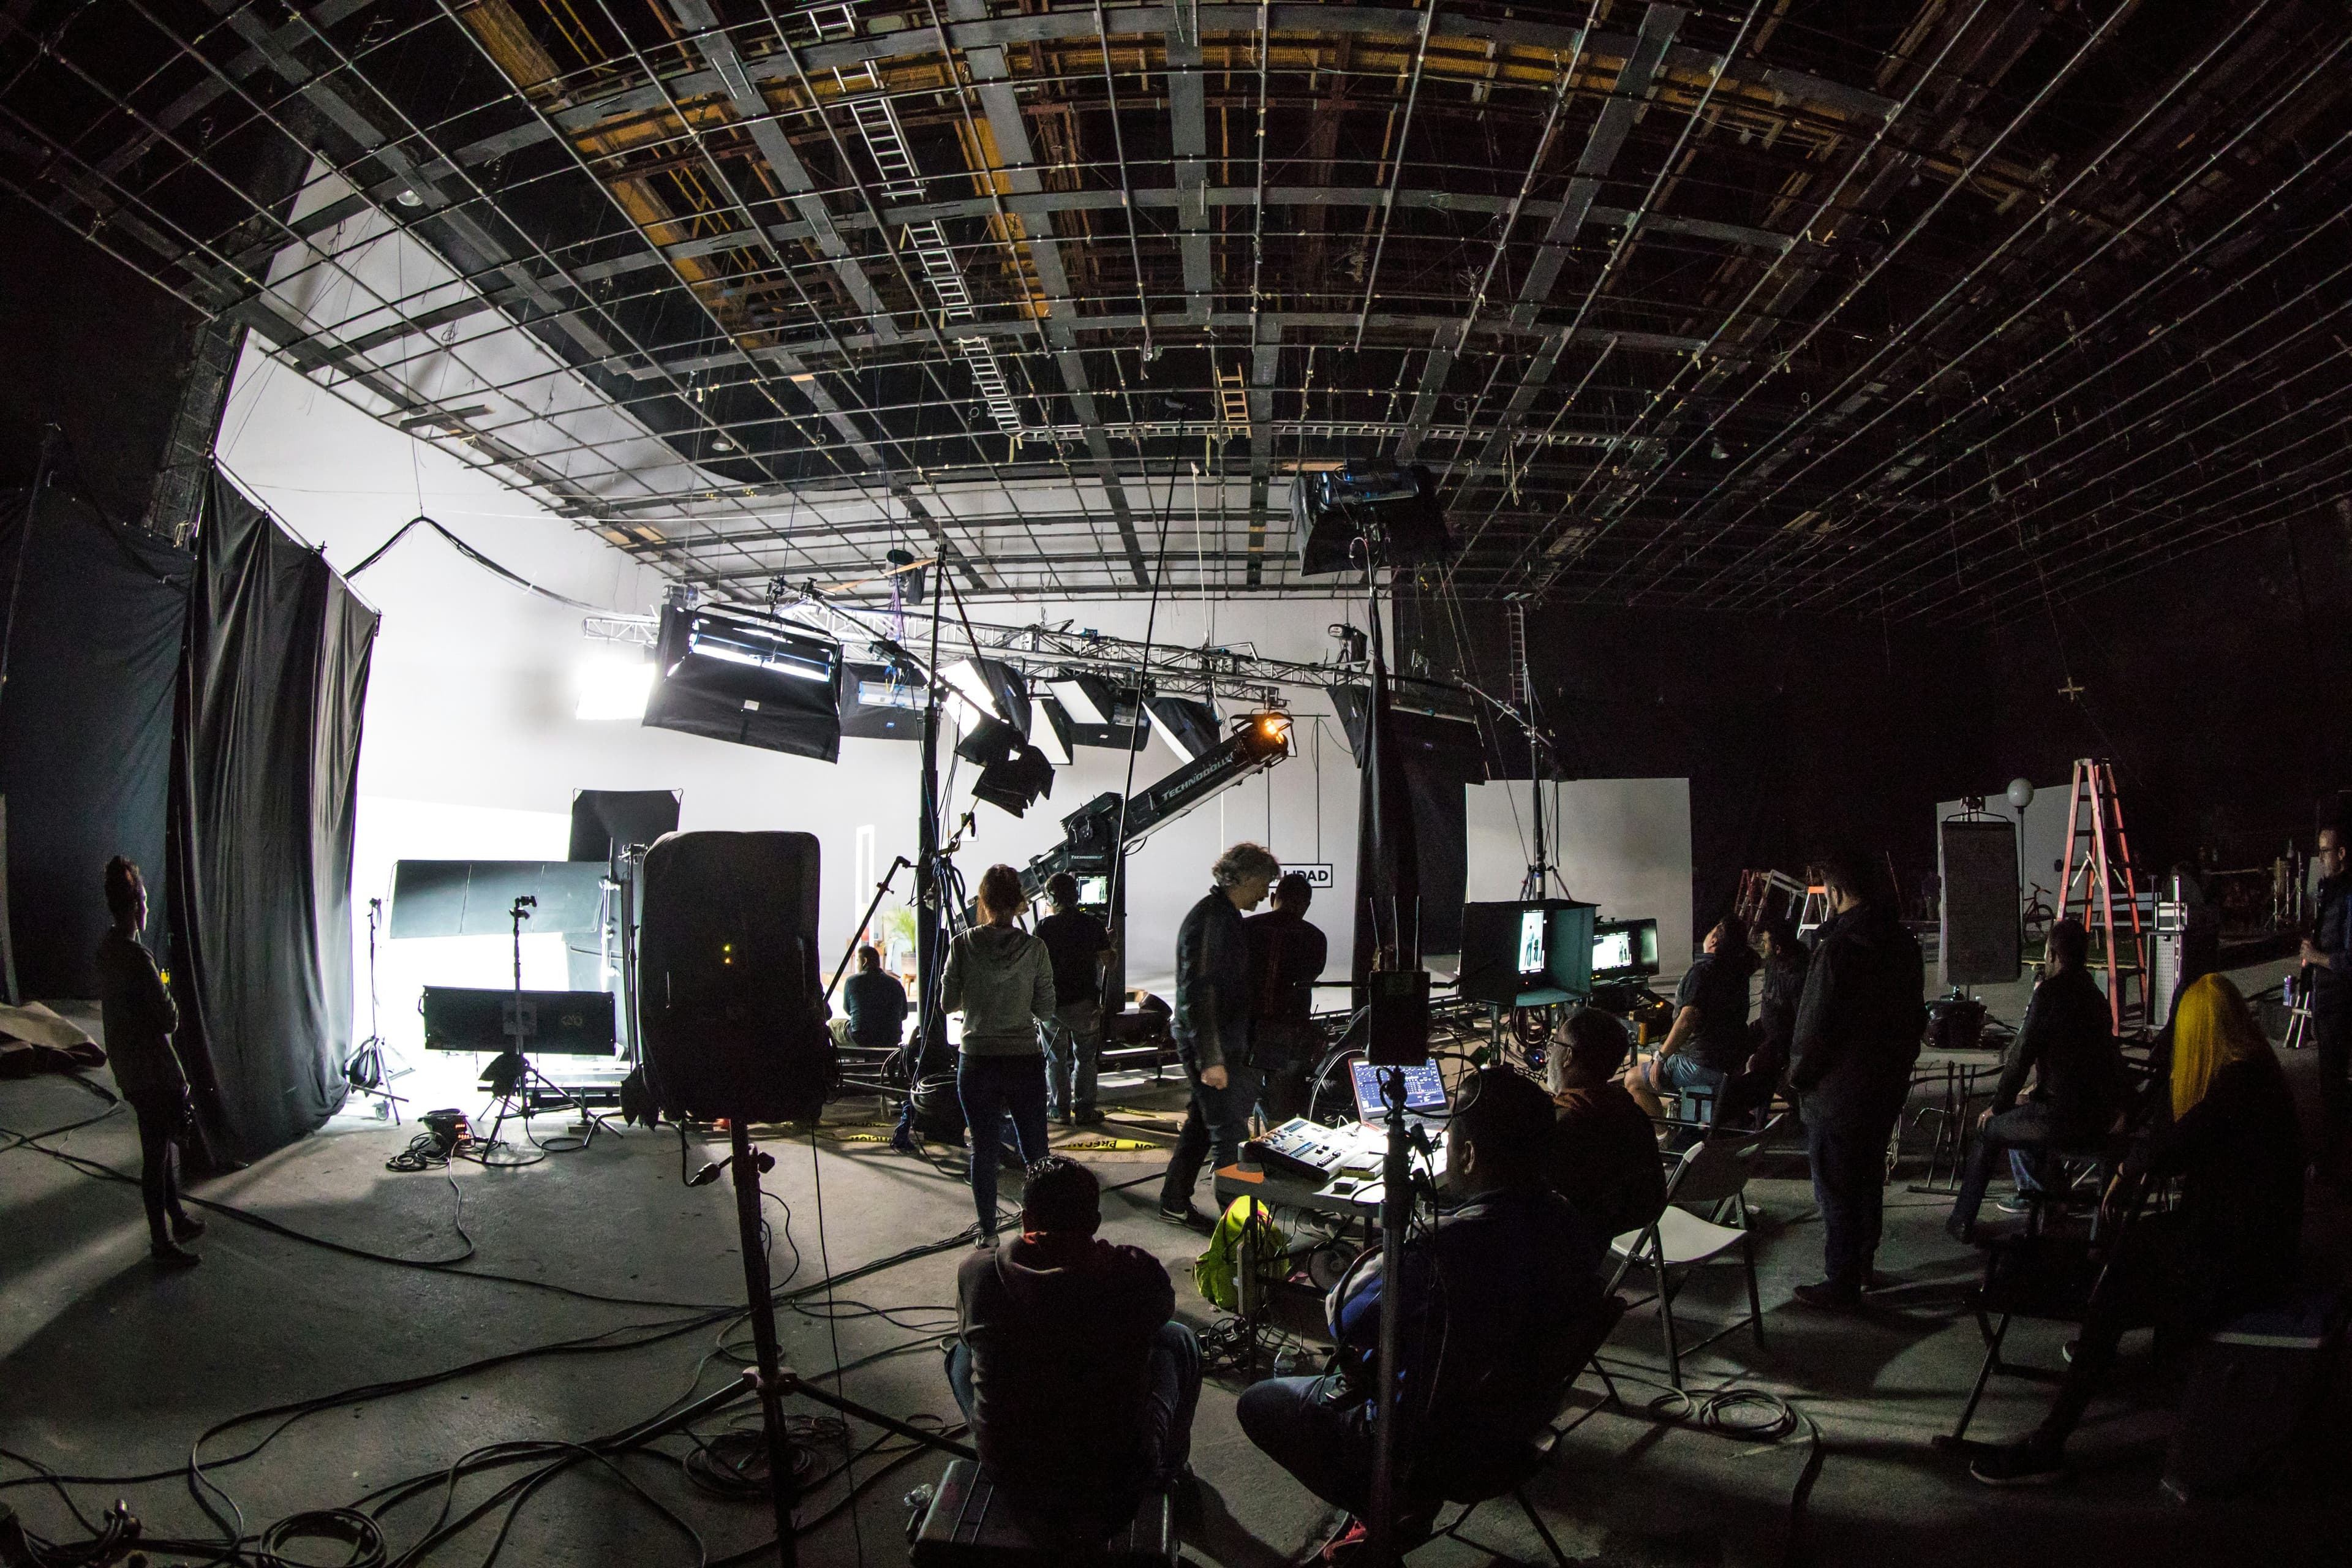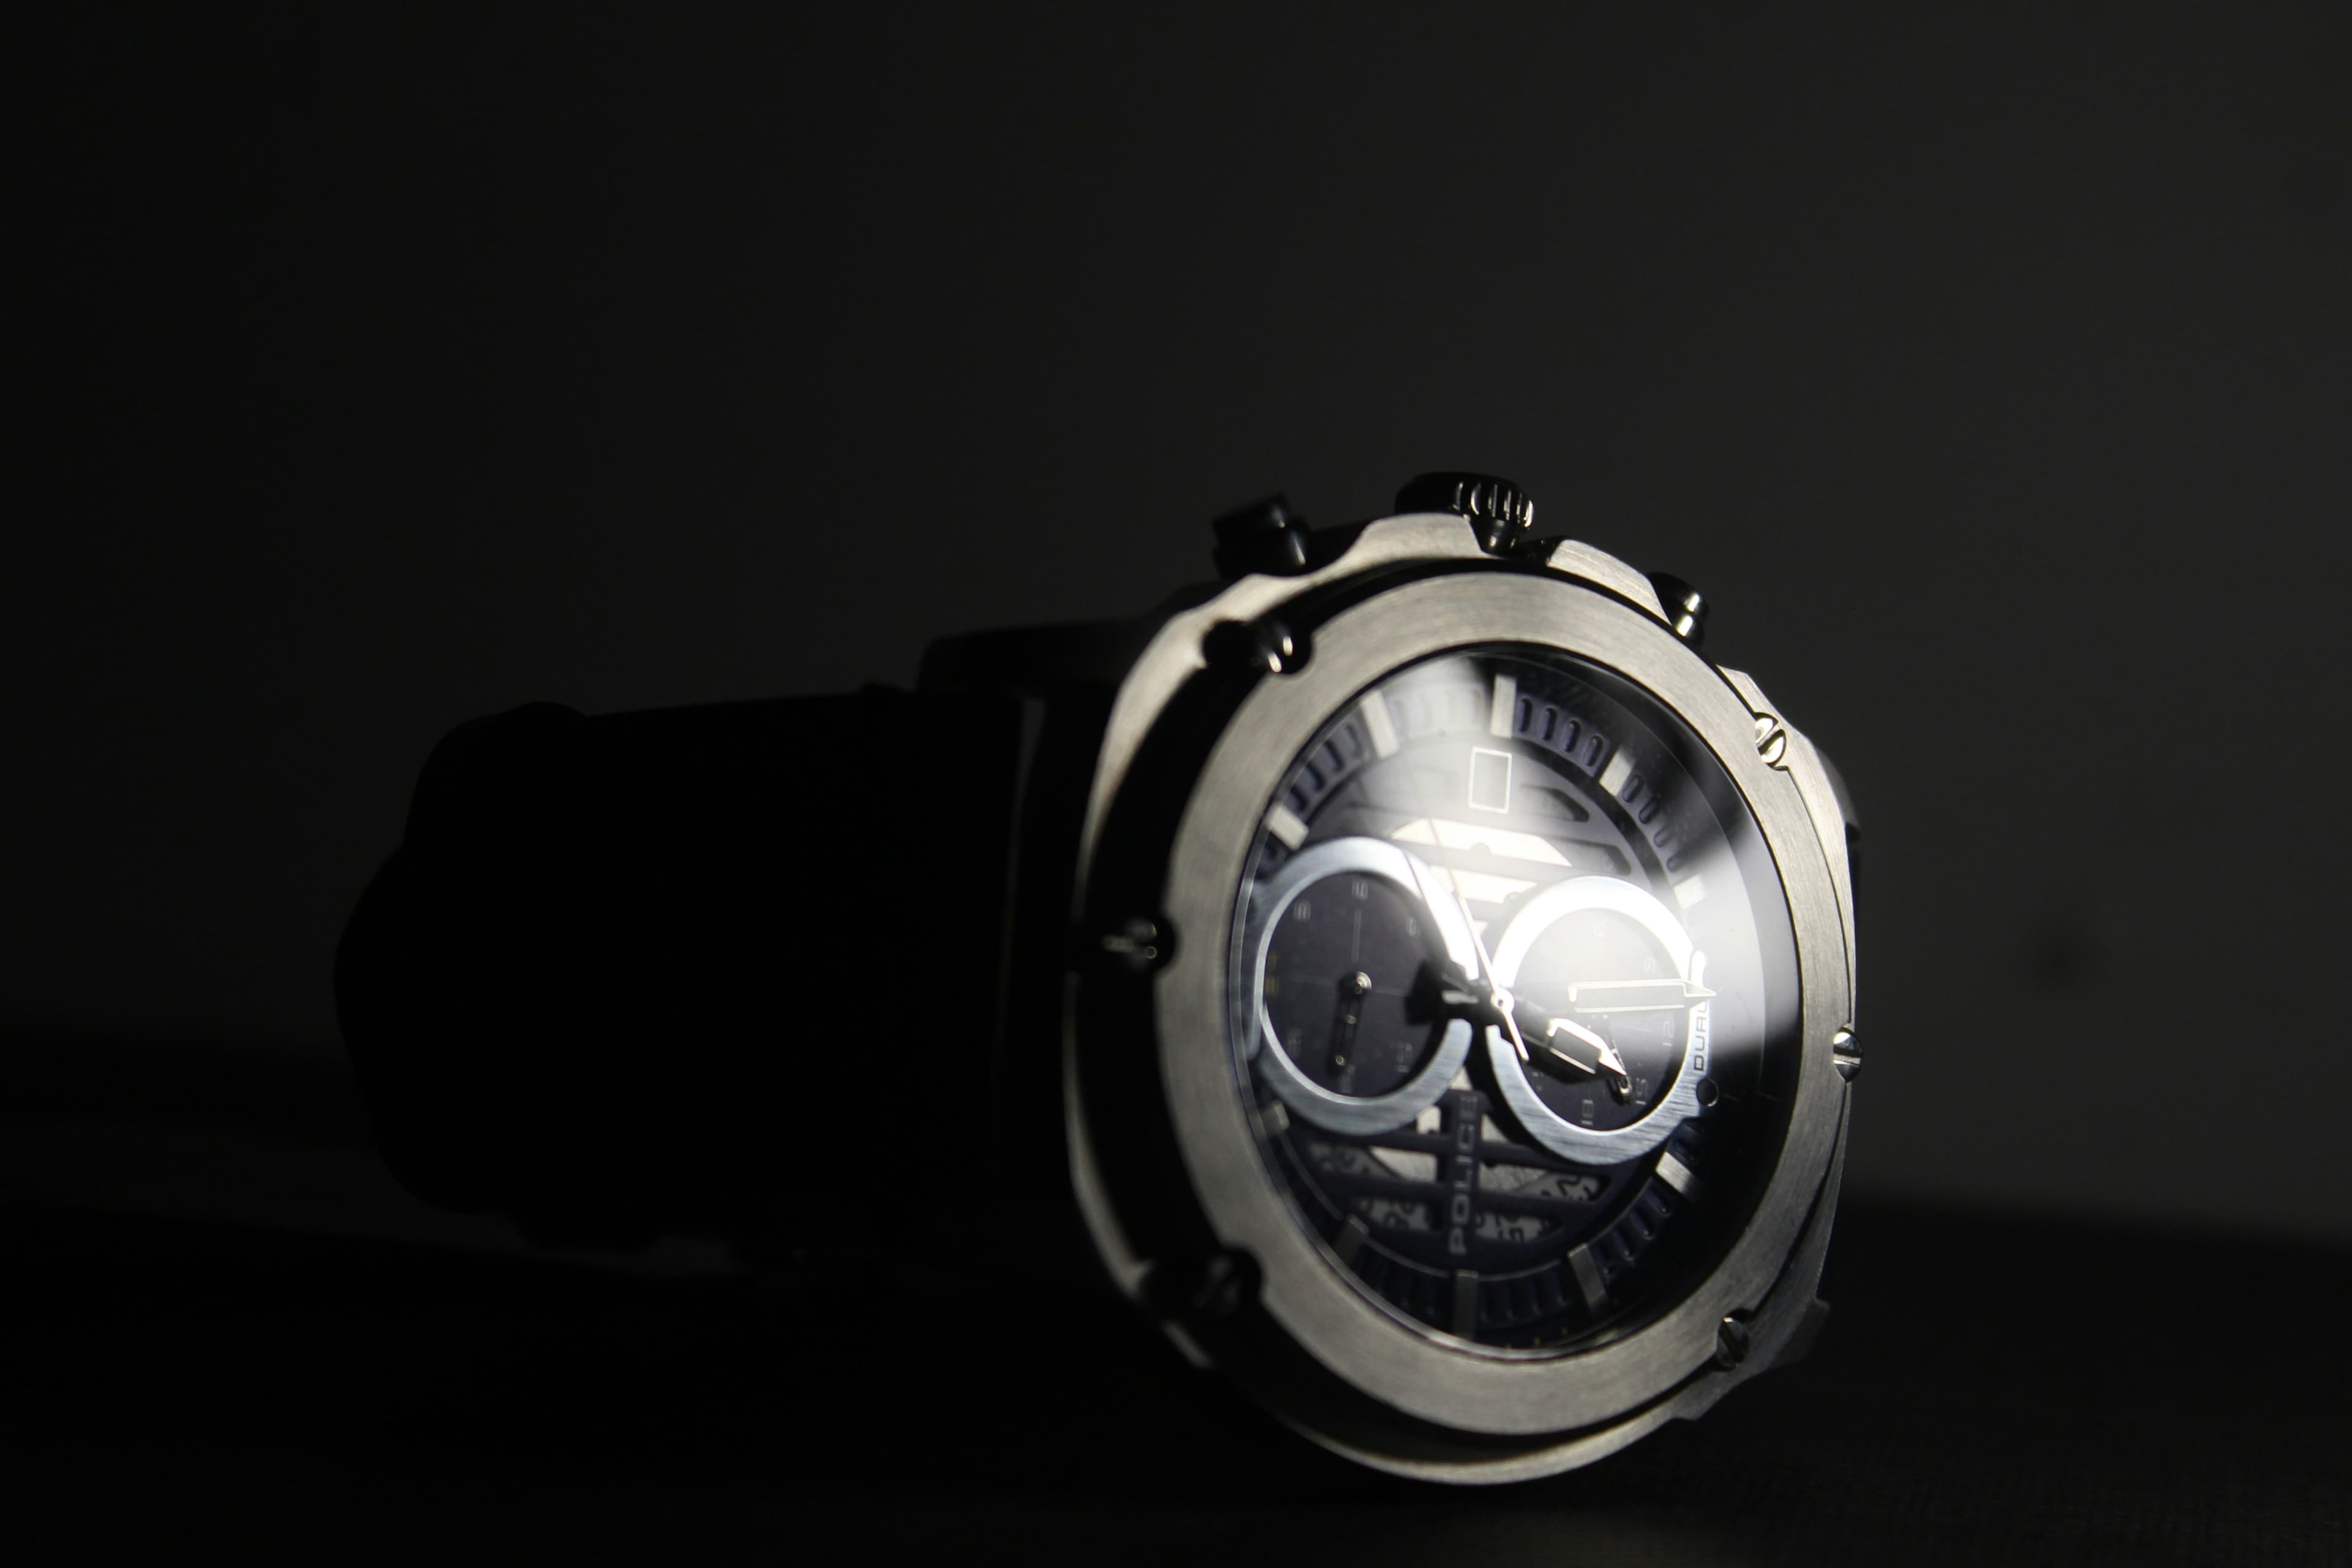
Light is what turns a product photo from ordinary into striking. The right light conveys a product's texture, colour and quality accurately.
In product photography the camera and lens certainly matter, but what truly makes a photo striking is usually the light. Light is the main tool that conveys a product's shape, texture, colour and material quality to the viewer. The same product can evoke completely different feelings under different lighting. In this article we cover the core principles of lighting in product photography and how to approach different products.
Soft light and hard light
The character of the light is the first decision that sets the overall mood of a photo. Soft light comes from a large source or through a diffuser and creates gentle transitions between shadows. It shows product details in a calm, balanced way and is widely used in e-commerce and catalogue photography.
Hard light comes from a small, direct source and creates sharp shadows and high contrast. For campaign visuals that call for a more dramatic, eye-catching effect, hard light can be a powerful tool. Which type to choose depends on the product's character and where the image will be used.
The direction of light reveals form
The angle at which light hits a product directly affects how three-dimensional it looks. Front light shows details flatly and evenly but can reduce the sense of depth. Side light brings out surface texture and volume. Back light creates a bright line along the product's edges, separating it from the background; it is especially effective for glass and products containing liquid.
Professional shoots usually combine several light sources rather than one. The key light provides the main illumination, the fill light softens shadows and the back light separates the product from the background. The balance between them defines the character of the photo.
Lighting set-ups by material
Every material reacts to light differently, so the lighting set-up should be planned around the product's material:
- Matte surfaces: soft side light shows texture and form naturally.
- Glossy and metal surfaces: large diffusers and controlled reflections convey quality while preventing unwanted glare.
- Glass and transparent products: back and side light define the outline and any liquid inside.
- Fabric and textiles: slightly angled light lets the texture and weave be felt.
- Food products: soft, warm light that mimics daylight creates an appetising look.
These are starting points, not fixed rules. The best result for each product is found through testing and observation.
Controlling reflections
Products with glossy surfaces are among the most challenging subjects in product photography. A metal watch, a polished bottle or shiny packaging can reflect everything around it. When these reflections aren't controlled, the photo ends up with scattered, unwanted marks.
The basic method is to understand which surfaces reflect what and to place controlled strips of light or dark areas in those reflections. White and black reflector cards, diffusion panels and small changes in light position can turn reflections into something that emphasises the product's form.
Background and atmosphere
Light shapes not only the product but also the background. A white background gives a clean, focused look on e-commerce sites. A dark background creates a luxurious, dramatic atmosphere for premium products. How much light falls on the background, and from where, decides whether the product stands out on its own or becomes part of a scene.
In lifestyle shoots the product is shown within a setting. Here, light should make the scene look natural while keeping the product as the focal point.
In product photography, light doesn't just make the product visible; it tells you how the product feels.
Consistency and series shoots
When shooting for a catalogue or e-commerce site, photographing every product with the same lighting set-up is essential. Products shot under different conditions show colour and brightness differences when placed side by side, which looks unprofessional. In series shoots, light positions, power settings and camera settings should be recorded so the same set-up is kept for every product.
Colour accuracy needs separate care. A gap between the colour customers see on screen and the product's real colour can lead to disappointment, especially in online sales. Correct white balance and a calibrated workflow minimise this risk.
Conclusion
In product photography, light is the most powerful tool for conveying a product's shape, texture, colour and quality. The choice between soft and hard light, the direction of light, set-ups matched to materials, reflection control and a consistent shooting set-up are the cornerstones of a professional result. A well-planned lighting set-up ensures your products look their best in both digital and print media.
Related Service
Photo & Video Production
End-to-end photo and video production, from script to final colour grade, telling your brand's story with the impact of a film frame.
View Service